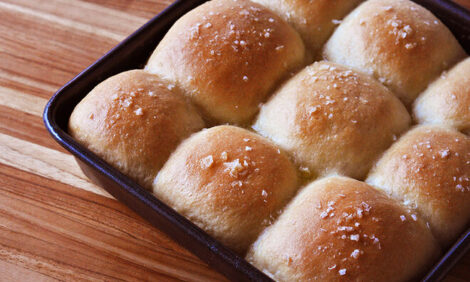
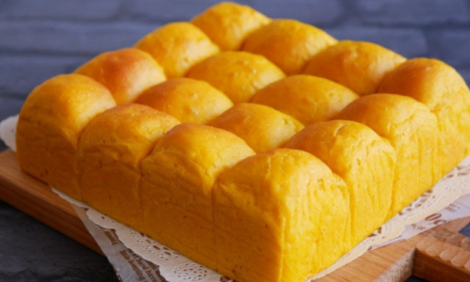
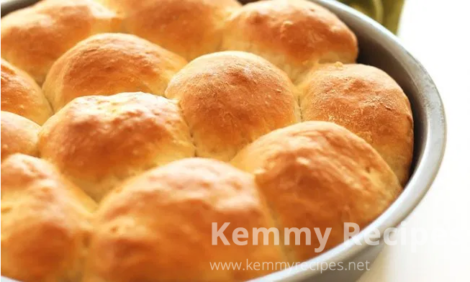
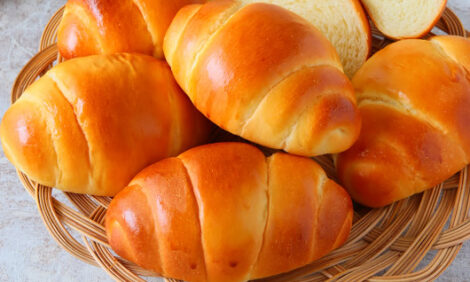
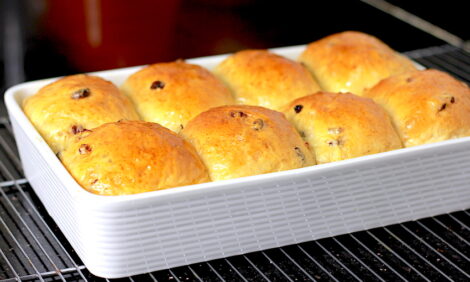
Buns are best used on the day they are baked. For making ahead, it’s best to freeze as these buns freeze beautifully! Freeze in a freezer bag or container. Thaw in the container at room temperature.
Ingredients
- 1 cup water, warmed to about 105-110F
- 3 Tbsp milk, warmed slightly to lukewarm
- 2 tsp active dry yeast or regular Instant yeast, not quick or rapid rise yeast
- 2 1/2 Tbsp white sugar
- 1 large egg, beaten with a fork
- 3 cups bread flour
- 1/3 cup all-purpose flour
- 1 1/2 tsp fine salt
- 2 1/2 Tbsp unsalted butter, at room temperature
- 1 large egg
- 1 Tbsp water
Instructions
- In a small bowl or 2-cup measuring cup, combine the warm water, warmed milk, yeast and sugar. Let stand until bubbly, about 5 minutes.
- In a large bowl, whisk together the bread flour, all purpose flour and salt. Add the butter. Using your finger tips, rub the butter in to the flour mixture, making even crumbs.
- Add the yeast mixture and the beaten egg to the bowl and using a dough scraper or silicone spatula, stir until a moist, sticky dough forms.
- Using a silicone bowl scraper, scrape the dough on to a very lightly floured counter or work surface. At this point the dough is very moist and sticky and not really able to be kneaded as you traditionally would. You will be tempted to dust with flour resist the urge to start. Instead of traditionally kneading, use your dough scraper or silicone spatula to scoop up the dough and then slam it back on the counter. (Don’t just drop it, slam it. It’s therapeutic 🙂 Use your scraper to turn it over a few times on the counter, then pick it up and slam it again. Repeat this slaming/turning action for a couple of minutes. You should find that it is a sticking to the counter a little less. If you feel it isn’t progressing after a couple of minutes (is still super sticky), very lightly dust the counter with flour and turn the dough over it to flour very lightly (Not too much flour. Just a dusting). Continue doing the slam and turn action for several more minutes. At some point, after about 5 minutes or so of this routine, your dough should stop sticking to the counter. Though it will still be a quite moist dough, you should be able to form it into a ball. *If your dough is still sticking after 5-7 minutes of working it, dust with a tiny bit more flour, as needed, until it is no longer sticking, but is still nice and moist.
- Shape dough into a ball and place into a greased bowl. Cover with plastic wrap and let rise until doubled, 1-2 hours. Note that this dough is a bit of a slow-riser. Allow it to rise until doubled, no matter how long that takes.
Line a large baking sheet with parchment paper and set aside. - Using a dough scraper, divide the dough into 8 equal pieces. (* I like to weight the dough ball and then divide that weight by 8, to get a weight for each piece. I then weigh out each piece to that weight, to get 8 exactly equal pieces. My last bake, the individual balls were 101g apiece. Yours may vary somewhat.)
- If your dough is still too sticky at this point to form into balls, very lightly dust with a tiny bit of four.
Form each of the 8 dough pieces into balls (* See video above the recipe card on how to do this!). Place balls on parchment lined baking sheet about 2-3 inches apart. Cover loosely with a clean kitchen towel and let rise until doubled again, 1-2 hours. - Set a large shallow roasting pan of water on the lowest rack of the oven. Preheat oven to 400F, with a rack in center of the oven, as well.
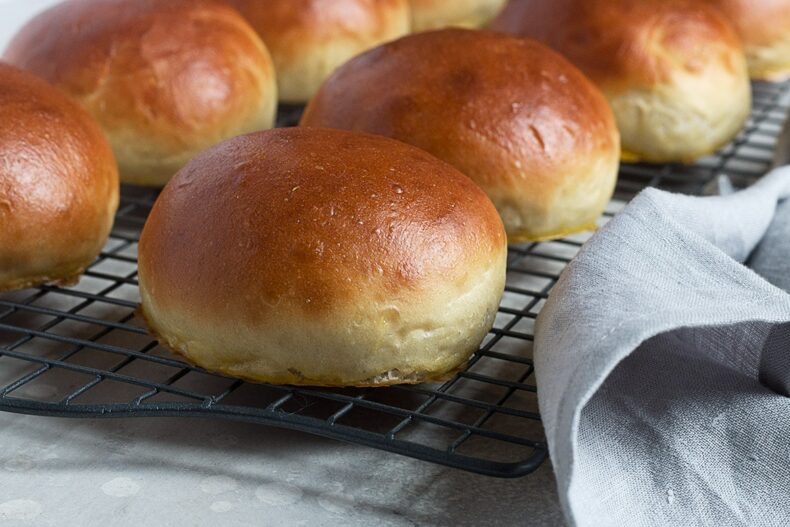
- When buns have doubled, beat remaining egg with 1 tablespoon water and brush the buns thoroughly. * Be sure to brush the entire bun, top and sides, right down to the pan, as any areas you miss will be pale-coloured once baked. If desired, you could sprinkle with sesame or poppy seeds at this point, as well. Bake, turning sheet 180 degrees halfway through baking, until tops are golden brown, about 15 minutes.
- Immediately transfer buns to a rack to cool completely.

