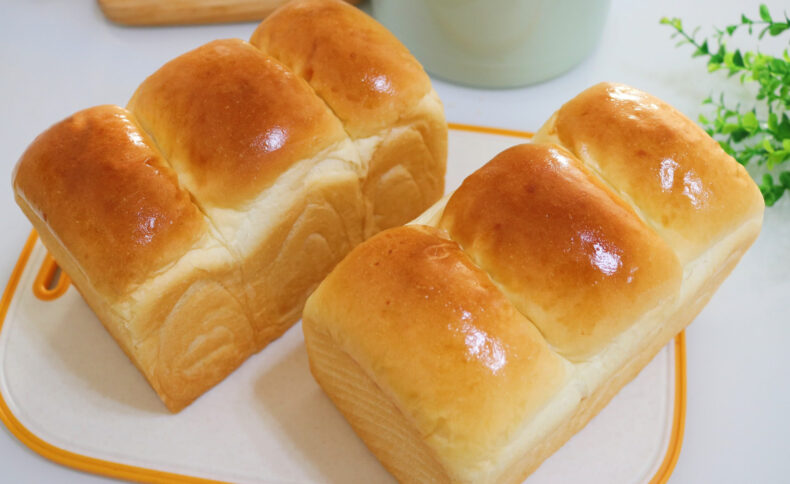
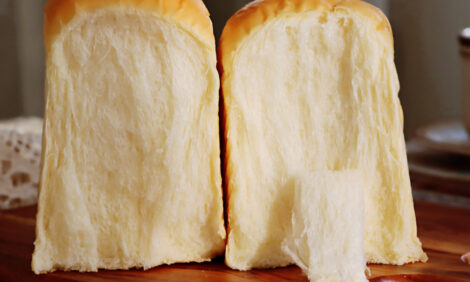
Toast bread may seem troublesome, but it is actually relatively simple to make. As long as the recipe is right and the dough is kneaded well, there is basically no big problem.The inside is delicate and non-porous, soft and silky, and it is really delicious.
Ingredients
- 540g high-gluten flour (bread flour)
- 390g iced milk
- 40g sugar
- 5g high-sugar resistant yeast
- 5g salt
- 40g butter
Instructions
- Pour all the ingredients except butter into the kneading bucket (540 grams of bread flour, 5 grams of high-sugar resistant yeast, 5 grams of salt, 40 grams of white sugar, 390 grams of pure milk. The milk here must be frozen. Yes, the one with a little bit of ice is best)
- Use chopsticks to mix all the ingredients evenly, which will make it easier to knead the dough later and also speed up the dough forming into a ball.
- Use a chef’s machine to knead the dough until a thick film can be pulled out, which will take about 8 to 10 minutes. Then add 40 grams of room temperature softened butter.
- Knead the butter into the dough at low speed first, then turn to medium-high speed and knead for about 8 minutes. Stop every 1 to 2 minutes and cut a small piece of dough to check until you can pull out a thin and transparent glove film. . This membrane is tough and the holes are smooth and jagged, so the dough meets the standards for making toast. You can stop kneading the dough at this point.
- Arrange the dough, put the smooth side up, place it in the kneading bucket, cover it with plastic wrap and seal it for the first fermentation.
- Dip your fingers in flour and press on the surface of the dough. If there are obvious fingerprints, but the dough does not collapse or rebound, and the volume is about twice as big as the beginning, this means that the dough has risen.
- Move the dough to the kneading mat, press it flat with the smooth side facing up, and divide it into 6 equal parts.
- Still with the smooth side facing up, gather each small dot from top to bottom, and then roll it into a round shape. Pinch the opening tightly and place it with the seal facing down.
- Arrange all 6 pieces of dough, cover with plastic wrap and let rest for ten minutes.
- After ten minutes, pick up the first prepared dough, with the smooth side facing up, and roll it into a long tongue shape.
- Turn it over and roll it up from top to bottom. The bottom part should be pressed thin so that the ending part can be tightly attached.
- Roll out all the dough for the first time, cover with plastic wrap, and rest for another ten minutes.
- Next, roll out the roll for the second time. Take a relaxed dough roll, smooth side facing up, flatten it, and then roll it out.
- Roll it up from top to bottom, being careful not to roll it too tightly. The final finishing position should also be rolled out thinly.
- After rolling the dough for the second time, put it into a toast box and place it in a warm and humid environment for the second proofing.
- After the second proofing, the toast box should be 90% full. Brush the surface with egg wash, put it in the middle and lower rack of the preheated oven, 175 degrees Celsius, and bake for 35 to 40 minutes.
- Bake the toast for about ten minutes. When you see the color on the surface, it is basically ready. At this time, cover the toast with tin foil to prevent the surface from burning.
- After taking it out of the oven, shake the toast box out of the heat and pour the bread onto the drying rack to cool down.
- Let it cool until it is no longer hot and you can eat it. The inside is delicate and non-porous, soft and silky, and it is really delicious.

